It allows to keep PV going, with more focus towards AI, but keeping be one of the few truly independent places.
-
I think this may help you.
http://www.lifepixel.com/tutorials/infrared-diy-tutorials/panasonic-lumix-gh2-ir
Cheers.
Brian.
-
Does anyone know if the GH2 uses ribbon cables that are available elsewhere or are they proprietary? Could be cool to rehouse a GH2 in an old video camera body <;O)
-
@willieturnip I guess propietary. Good luck in achieving the correct flange focal distance :-)
But more realistic: As we can disassemble the GH2, maybe the time has come to do a hardware hack? Assuming that a newer/faster versions of the IC digitizing sensor data are pin-compatible...
-
This has been covered before by @Roberto and @DirkVoorhoeve see http://www.personal-view.com/talks/discussion/2555/gh2-hardware-modifications-not-for-the-faint-hearted/p1


If that doesn't help, just ask.
-
@Walker - I have seen that post but I'm looking for a low tech solution, I just want to have a wire coming out that will have a nice pro connector on the end that is attached to the mic jack internally somehow. Think it should work as long as wire is not too long and shielded. XLR female on the end, ok heavy but I could then have a little patch cable going from XLE male to female mini jack but I could then at least gaffer tape this connection tight so it won't fall out like it did the other day. Jesus, why couldn't they just of put a female mini jack with a screw connector on there!
-
How do I discharge the flash!
Panasonic specify a resistor ERG5SJ102 saying an equivalent resistor can be used.
-
why couldn't they just of put a female mini jack with a screw connector on there!
The biggest statistical cause of camera fatal damage, falling to the floor, is often caused by cables & jacks; or an operator walking away from the camera with headphones on, or someone tripping over a mic cable.
Sockets themselves do provide a safety link. I always add a separate, short, extra break-away cable somewhere, attaching the various cables, cameras, tripods etc where needed to strong things with shoe-laces. Your camera's fiddly socket may one day save the whole camera - or, at worst, break the socket itself.
There are XLR Baluns made, often fitted between camera and rig (search these forums).
But honestly, most GH.x users never use that socket. You could sell your dodgy-socket GH2 to a satisfied buyer and buy another with a good socket.
I have to admit to getting one of the very first, collector-edition Sony Walkmans in perfectly good nick and drilling a mic socket into it. That unit has only sentimental value now. :-(
-
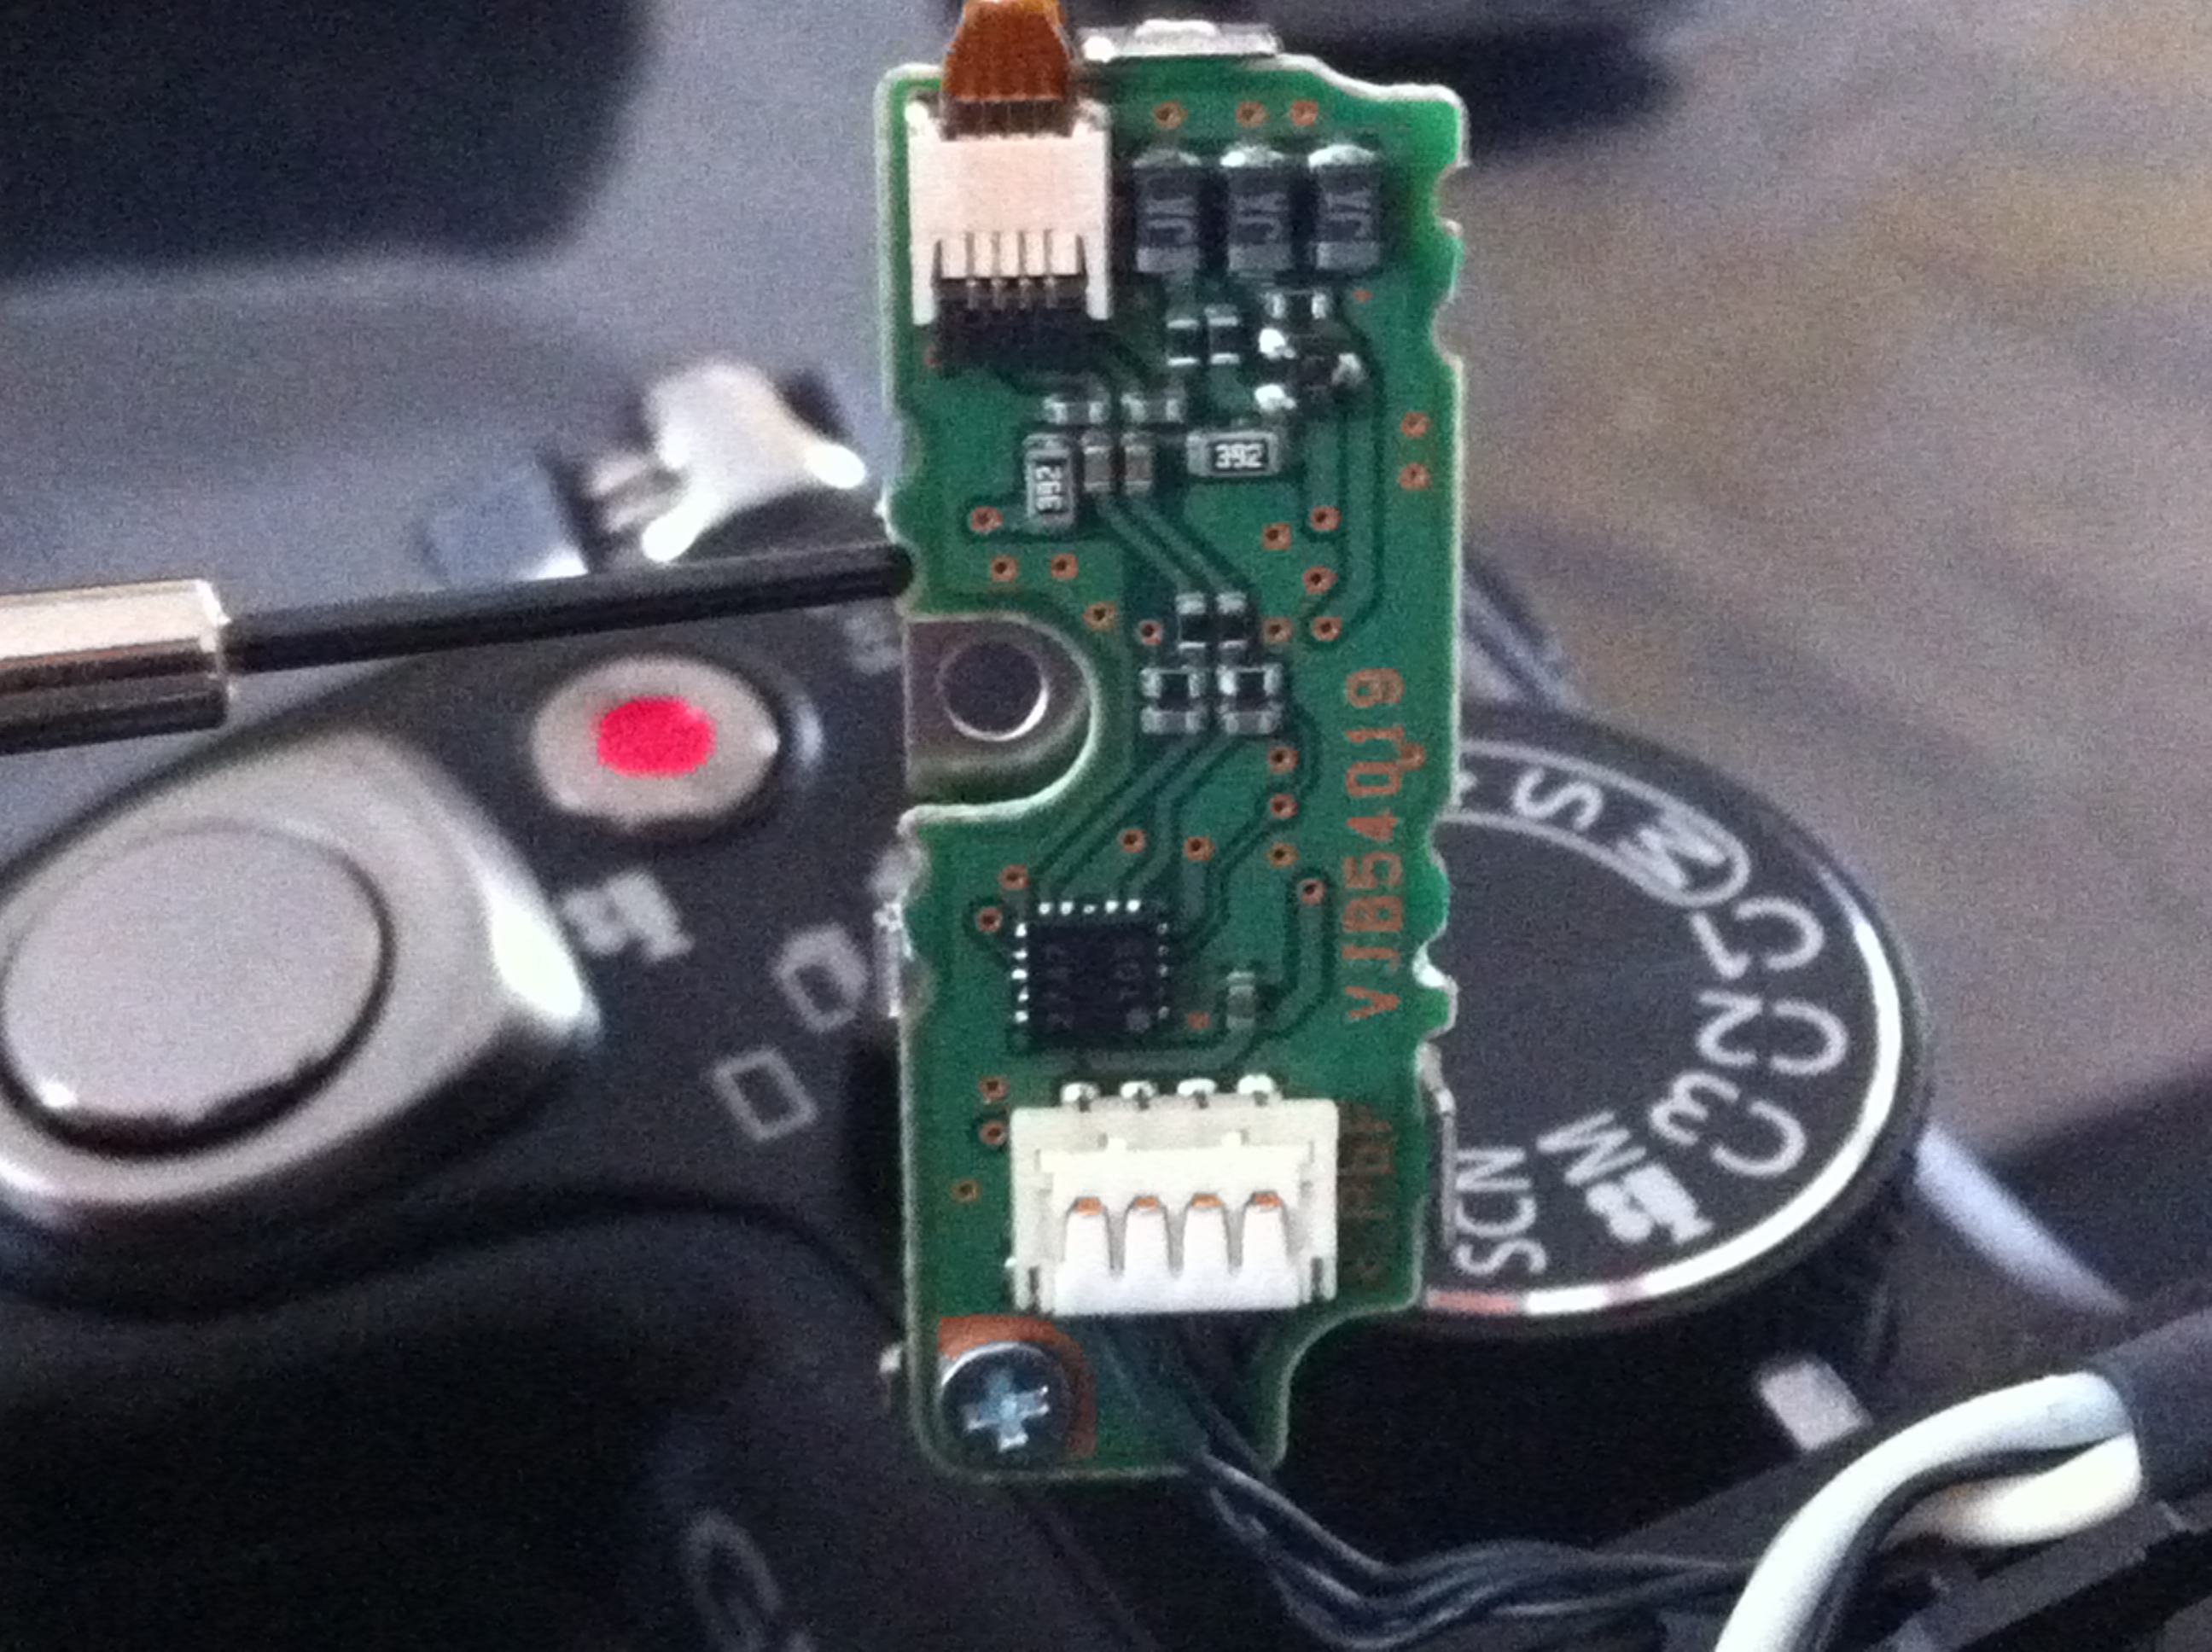
Ok so I took the top mic thing off and there is no connection from there to the mini jack on the side - perhaps I was mis reading the link provide here. @Rambo glue sounds good and I do have a right angle mini jack so that might be the best idea. There is quite a gap 3mm + between the camera and the right angle connector but I guess globs of hot glue would work?
-
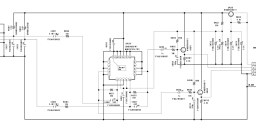
The top mic and mic input are probably not simply electrically switched via the female socket, but rather via logical (NAND) pulse circuitry within the IC. If you feel confident reading circuit diagrams, I can send you better detail, perhaps.
Otherwise, It's your GH2 to put Glue on. @Rambo 's idea is practical. Personally, I'd like to preserve the original hole where the socket now is and send a knotted (or grommet-restrained) flying lead from the mic socket connection on the IC through to a female socket on the outside. That way, it's reversible/repairable with a new original PCB socket.
-
How to Discharge the E. Capacitor on Flash P.C.B. CAUTION: 1. Be sure to discharge the E. Capacitor on FLASH P.C.B.. 2. Be careful of the high voltage circuit on FLASH P.C.B. when servicing. [Discharging Procedure] 1. Refer to the disassemble procedure and remove the necessary parts/unit. 2. Put the insulation tube onto the lead part of Resistor (ERG5SJ102:1kΩ /5W). (An equivalent type of resistor may be used.) 3. Put the resistor between both terminals of E. Capacitor on FLASH P.C.B. for approx. 5 seconds. 4. After discharging confirm that the E. Capacitor voltage is lower than 10V using a voltmeter.


 disch_GH2.png1962 x 828 - 27K
Howdy, Stranger!
It looks like you're new here. If you want to get involved, click one of these buttons!
Categories
- Topics List23,993
- Blog5,725
- General and News1,354
- Hacks and Patches1,153
- ↳ Top Settings33
- ↳ Beginners256
- ↳ Archives402
- ↳ Hacks News and Development56
- Cameras2,368
- ↳ Panasonic995
- ↳ Canon118
- ↳ Sony156
- ↳ Nikon96
- ↳ Pentax and Samsung70
- ↳ Olympus and Fujifilm102
- ↳ Compacts and Camcorders300
- ↳ Smartphones for video97
- ↳ Pro Video Cameras191
- ↳ BlackMagic and other raw cameras116
- Skill1,960
- ↳ Business and distribution66
- ↳ Preparation, scripts and legal38
- ↳ Art149
- ↳ Import, Convert, Exporting291
- ↳ Editors191
- ↳ Effects and stunts115
- ↳ Color grading197
- ↳ Sound and Music280
- ↳ Lighting96
- ↳ Software and storage tips266
- Gear5,420
- ↳ Filters, Adapters, Matte boxes344
- ↳ Lenses1,582
- ↳ Follow focus and gears93
- ↳ Sound499
- ↳ Lighting gear314
- ↳ Camera movement230
- ↳ Gimbals and copters302
- ↳ Rigs and related stuff273
- ↳ Power solutions83
- ↳ Monitors and viewfinders340
- ↳ Tripods and fluid heads139
- ↳ Storage286
- ↳ Computers and studio gear560
- ↳ VR and 3D248
- Showcase1,859
- Marketplace2,834
- Offtopic1,320
Tags in Topic
- gh1 196
- microphone 61


